Vinyl siding is one of the most popular choices for homeowners looking to enhance their home’s exterior. It’s durable, low-maintenance, and available in a variety of styles and colors to suit any aesthetic. Whether you’re a DIY enthusiast or simply want to understand the process before hiring professionals, this comprehensive guide will walk you through everything you need to know about vinyl siding installation.
In this 10,000+ word blog post, we’ll cover:
Let’s dive in!
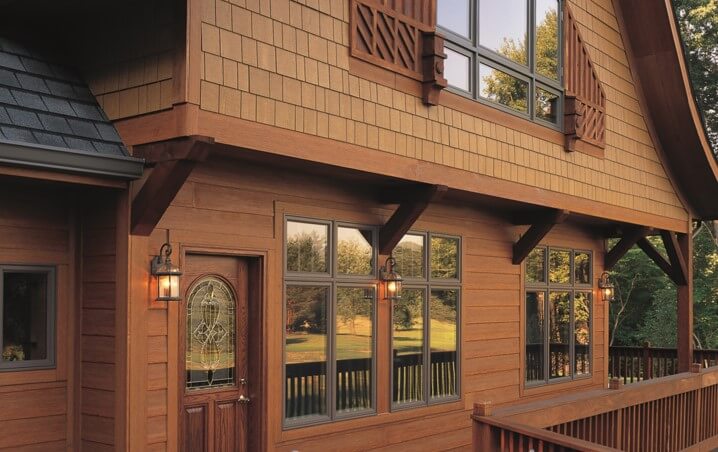
Vinyl siding is a synthetic exterior cladding made from polyvinyl chloride (PVC) resin. It’s designed to mimic the appearance of traditional materials like wood, stone, or brick while offering superior durability and weather resistance.

Vinyl siding is one of the most affordable siding options, making it a popular choice for homeowners on a budget.
Insulated vinyl siding can improve your home’s energy efficiency by reducing heat loss.
With the right tools and knowledge, vinyl siding can be installed quickly and efficiently.
High-quality vinyl siding can last up to 30 years or more with proper maintenance.

Before starting your vinyl siding project, gather the following tools and materials:
Tape measure
Level
Chalk line
Circular saw or tin snips
Hammer or nail gun
Utility knife
Ladder or scaffolding
Vinyl siding panels
Starter strips
J-channels
Corner posts
Soffit and fascia
Nails or screws
Insulation (optional)


Remove old siding and repair any damaged areas.
Install a weather-resistant barrier (e.g., house wrap) to protect against moisture.
Attach starter strips at the bottom of the wall to provide a base for the first row of siding.
Secure corner posts to the corners of your home to ensure a clean, finished look.
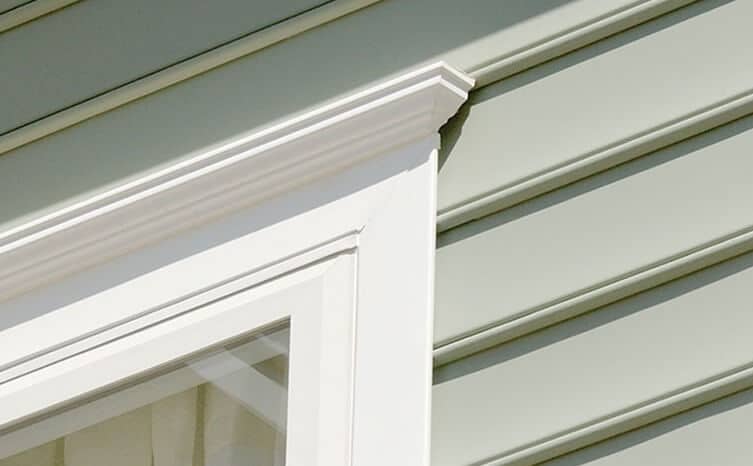
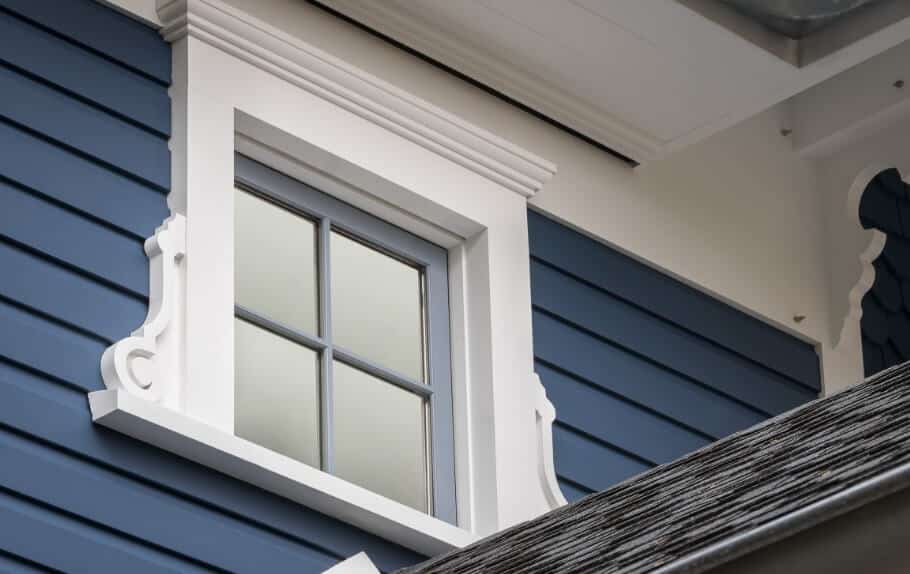
Place J-channels around windows, doors, and other openings to accommodate the siding panels.
Start at the bottom and work your way up, overlapping each panel as you go.
Use a level to ensure each row is straight.
Attach soffit panels under the eaves and fascia boards along the roofline.
Add trim pieces and accessories to complete the look and ensure a professional finish.
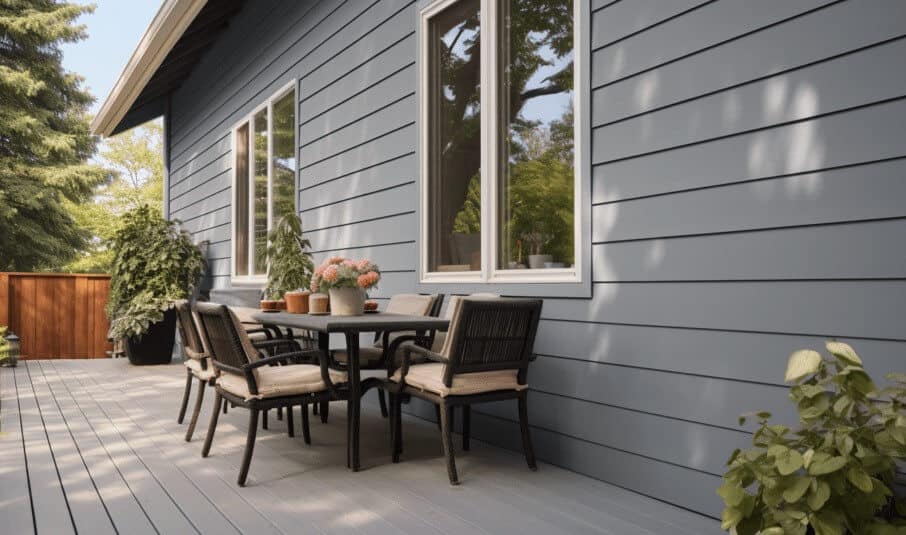
To achieve a professional-looking finish, vinyl siding must be cut and installed carefully around windows, doors, and eaves using J-channels and utility trim.
Colors: White, gray, and black.
Textures: Smooth or wood-grain finishes.
Colors: Light blue, seafoam green, and sandy beige.
Textures: Lap siding or shingle-style panels.
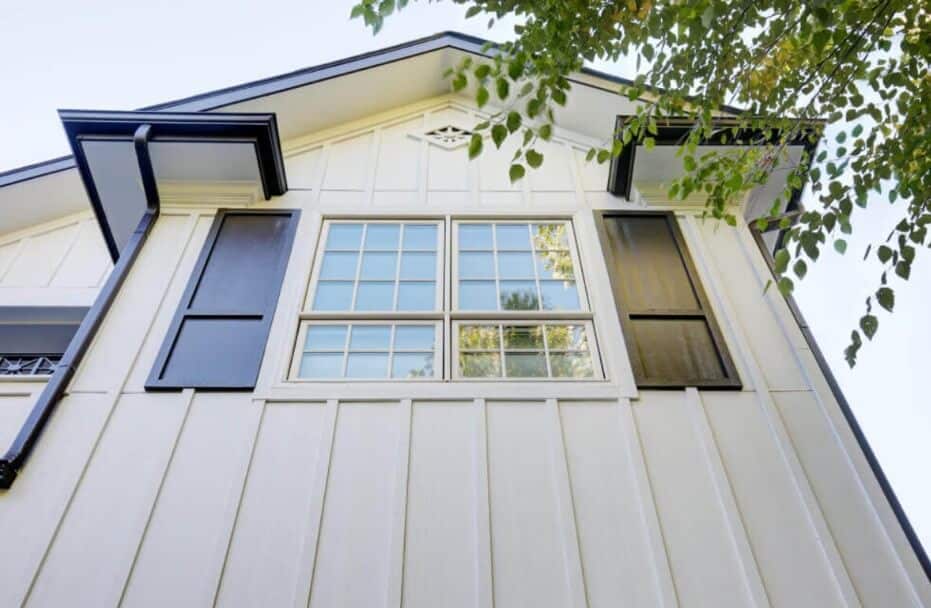
Colors: Navy blue, deep red, and forest green.
Textures: Vertical or horizontal panels.
Colors: Beige, taupe, and warm gray.
Textures: Stone or brick veneer accents.
Clean Regularly: Wash your siding with a hose or pressure washer to remove dirt and debris.
Inspect for Damage: Check for cracks, holes, or loose panels and repair them promptly.
Avoid Harsh Chemicals: Use mild soap and water to clean your siding.
Trim Nearby Trees: Keep branches away from your siding to prevent scratches and damage.
A: High-quality vinyl siding can last 20-30 years or more with proper maintenance.
A: Yes, with the right tools and knowledge, vinyl siding can be a DIY project. However, hiring professionals ensures a flawless finish.
A: Insulated vinyl siding improves energy efficiency and can reduce heating and cooling costs.
A: The cost varies depending on the quality and style, but it typically ranges from 3to3to8 per square foot.
A: While vinyl siding is available in many colors, it can be painted if desired. Use paint specifically designed for vinyl surfaces.
At TINOS Inc., we specialize in professional vinyl siding installation, offering:
✅ Free siding consultations
✅ Custom recommendations based on your home’s architecture
✅ Affordable pricing and financing options
✅ Expert installation backed by warranty
✅ Fast turnaround times and minimal disruption
Whether you’re upgrading for better curb appeal or increased energy efficiency, our team has the skills and experience to deliver flawless results.


